Find What Commit Introduced a Bug With Git Bisect

As developers, we often have to track down bugs and sometimes, they could be quite tedious to track down, especially within big codebases.
How could we be more effective in finding the cause and fixing them?
Well, there are a lot of effective tools these days, but we often forget how powerful git is. In this blog post, we will cover how to use git bisect to simplify our bug tracking sessions and how to automate this with tests.
First thing to do with a bug
One of the first things I do when I need to tackle a bug is to understand what's going on—obviously—and how to reproduce it. Then, write tests to assert expected behaviors.
By default, we often try to fix it first, then later we write a test to prevent further regressions. But what if we could leverage those tests to help us fix them in the first place?
Writing tests is super helpful, even early. This is especially true in the open source community, even if you don't know how to properly fix a bug, sending a pull request with tests will be a great help. Of course, they will fail at first but they will become an excellent indicator to know when everything is working as expected and someone else could easily pick it up from there.
From there, how do we find out how the bug was introduced? Let's say we don't have a stacktrace and we don't have any knowledge of the codebase. Where do we start? That's precisely where git bisect comes in.
Preamble
As an example for this blog post, we'll refer to the following workshop: github:charpeni/git-bisect-workshop.
It's a small JavaScript library that does two simple math operations: summation and multiplication.
import { sum, multiply } from './math';

console.log(sum(1, 2));     // Output: 3
console.log(multiply(3, 4); // Output: 24!?
Unfortunately, the latest version of the library has a bug that causes the multiplication operation to return the wrong result. We know it was working fine previously, but we need to know when the bug has been introduced or where to fix it.
Moving forward, if we would like to prevent any regressions, we could write a test asserting the behavior of multiply:
Be careful to not commit the test yet, otherwise it won't be available on previous commits during a bisecting session.
const { multiply } = require('./math');

describe('multiply', () => {
  it('the sum of 3 and 4 should equal 12', () => {
    expect(multiply(3, 4)).toBe(12);
  });
});
Bisecting
In the past, I used to dig through the git history to understand what happened. But there are better ways to go, and it could be quite tedious to manually checkout every commit, checking if the bug is still there.
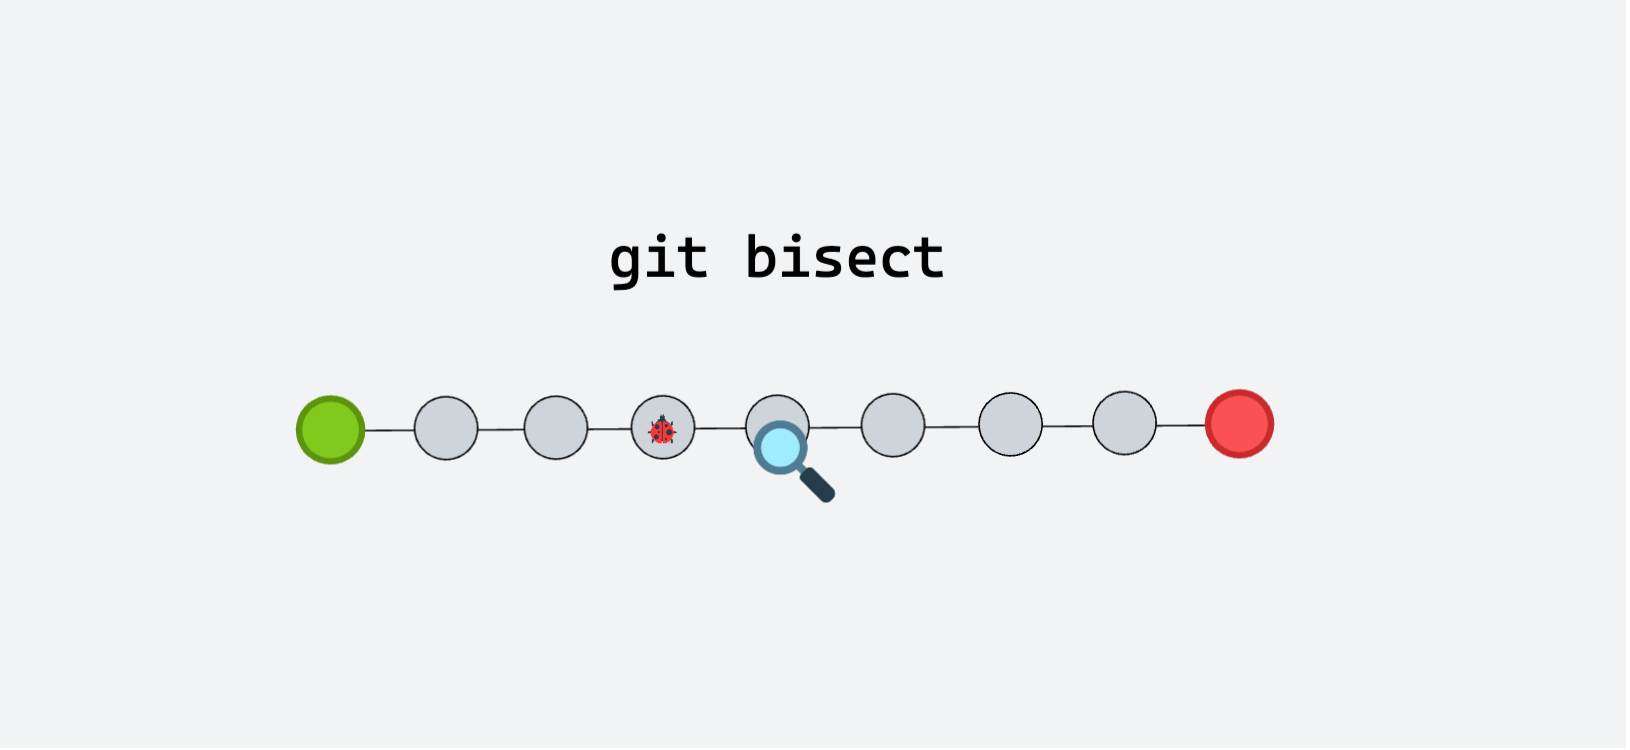
Git offers a better alternative: a bisect command that uses binary search to find the commit that introduced a bug.
You specify the last good commit you know and a bad commit (the one with the bug, usually your current commit), then the command will do a binary search through all the in between commits to ask you if the selected commit has the bug or not (if the commit is either bad or good). We will cover how to automate this later.
The following content is coming and executed from the workshop repository mentioned above.
From the following git history, we know that the library used to work at least on the second commit (Initial setup) but something broke in between the first commit and the last one.

So, we can find the commit that introduced the bug by starting a bisect session:
git bisect start
git bisect bad # this will select the current commit as the bad commit
git bisect good 52095727dd1afc8517cc9dda06568ae21f9b5850 # this is telling git that our second commit (Initial setup) is a good commit
Then, the bisecting session begin.

What happened here is that the binary search split commits in two parts from the good one to the bad one and it checkout the middle commit.
Then, we need to test this comment to check if whether this is a good or a bad commit. We could test it manually, or even better if we reuse our previous test. To do so, we need to copy the test above and paste it into the workshop repository as test.spec.js. If it was an application, we would have to either start the application and test it manually or write an integration / E2E test.
Then we can run the test with yarn test and assert if the test is passing or not.
In this case, it was failing, so we can mark it as a bad commit, then we continue the bisecting session by splitting another series of commits.
git bisect bad

Run the app or the tests, is it working or not? Let git know and move on automatically to the next step. Then, we repeat until we find the commit that introduced the bug by narrowing them down. Don't forget that git is tracking the state of each commit that was tested so you don't have to.

a324657c88fff30475f8fbea102d5c69ac56b6c7 is the first bad commit
commit a324657c88fff30475f8fbea102d5c69ac56b6c7
Author: Nicolas Charpentier <nicolas.charpentier079@gmail.com>
Date:   Thu Aug 25 14:51:39 2022 -0400

    Third commit

 math.js | 2 +-
 1 file changed, 1 insertion(+), 1 deletion(-)

Automation
We can even push git bisect a little further if we want, we could entierly automate the process with git bisect run, it will run a command for each commit and will mark it as a good or bad commit depending on the exit code of the command.
git bisect run yarn test